Getting Started with OCRR
This guide will help you get up and running with OCRR quickly.
System Requirements
- macOS 12 (Monterey) or later
- Minimum 4GB RAM (8GB recommended)
- 500MB of available disk space
Installation
- Download the OCRR application from the Apple App Store
- Launch OCRR by double-clicking its icon in the Applications folder or Launchpad
Trial and Subscription
OCRR offers a 7-day free introductory trial period for new users. After launching the application for the first time, you'll see the subscription overlay where you can:
- Start your 7-day free trial (initiates an annual subscription plan with a free trial period)
- Restore previous subscriptions (if you've subscribed before on another device)
Important: During the trial period, all features are fully functional with no limitations. When the 7-day trial ends, your subscription will automatically begin and your payment method will be charged $24.99 for the annual plan unless you cancel through the App Store before the trial period ends.
Main Interface Overview
The OCRR interface consists of the following main components:
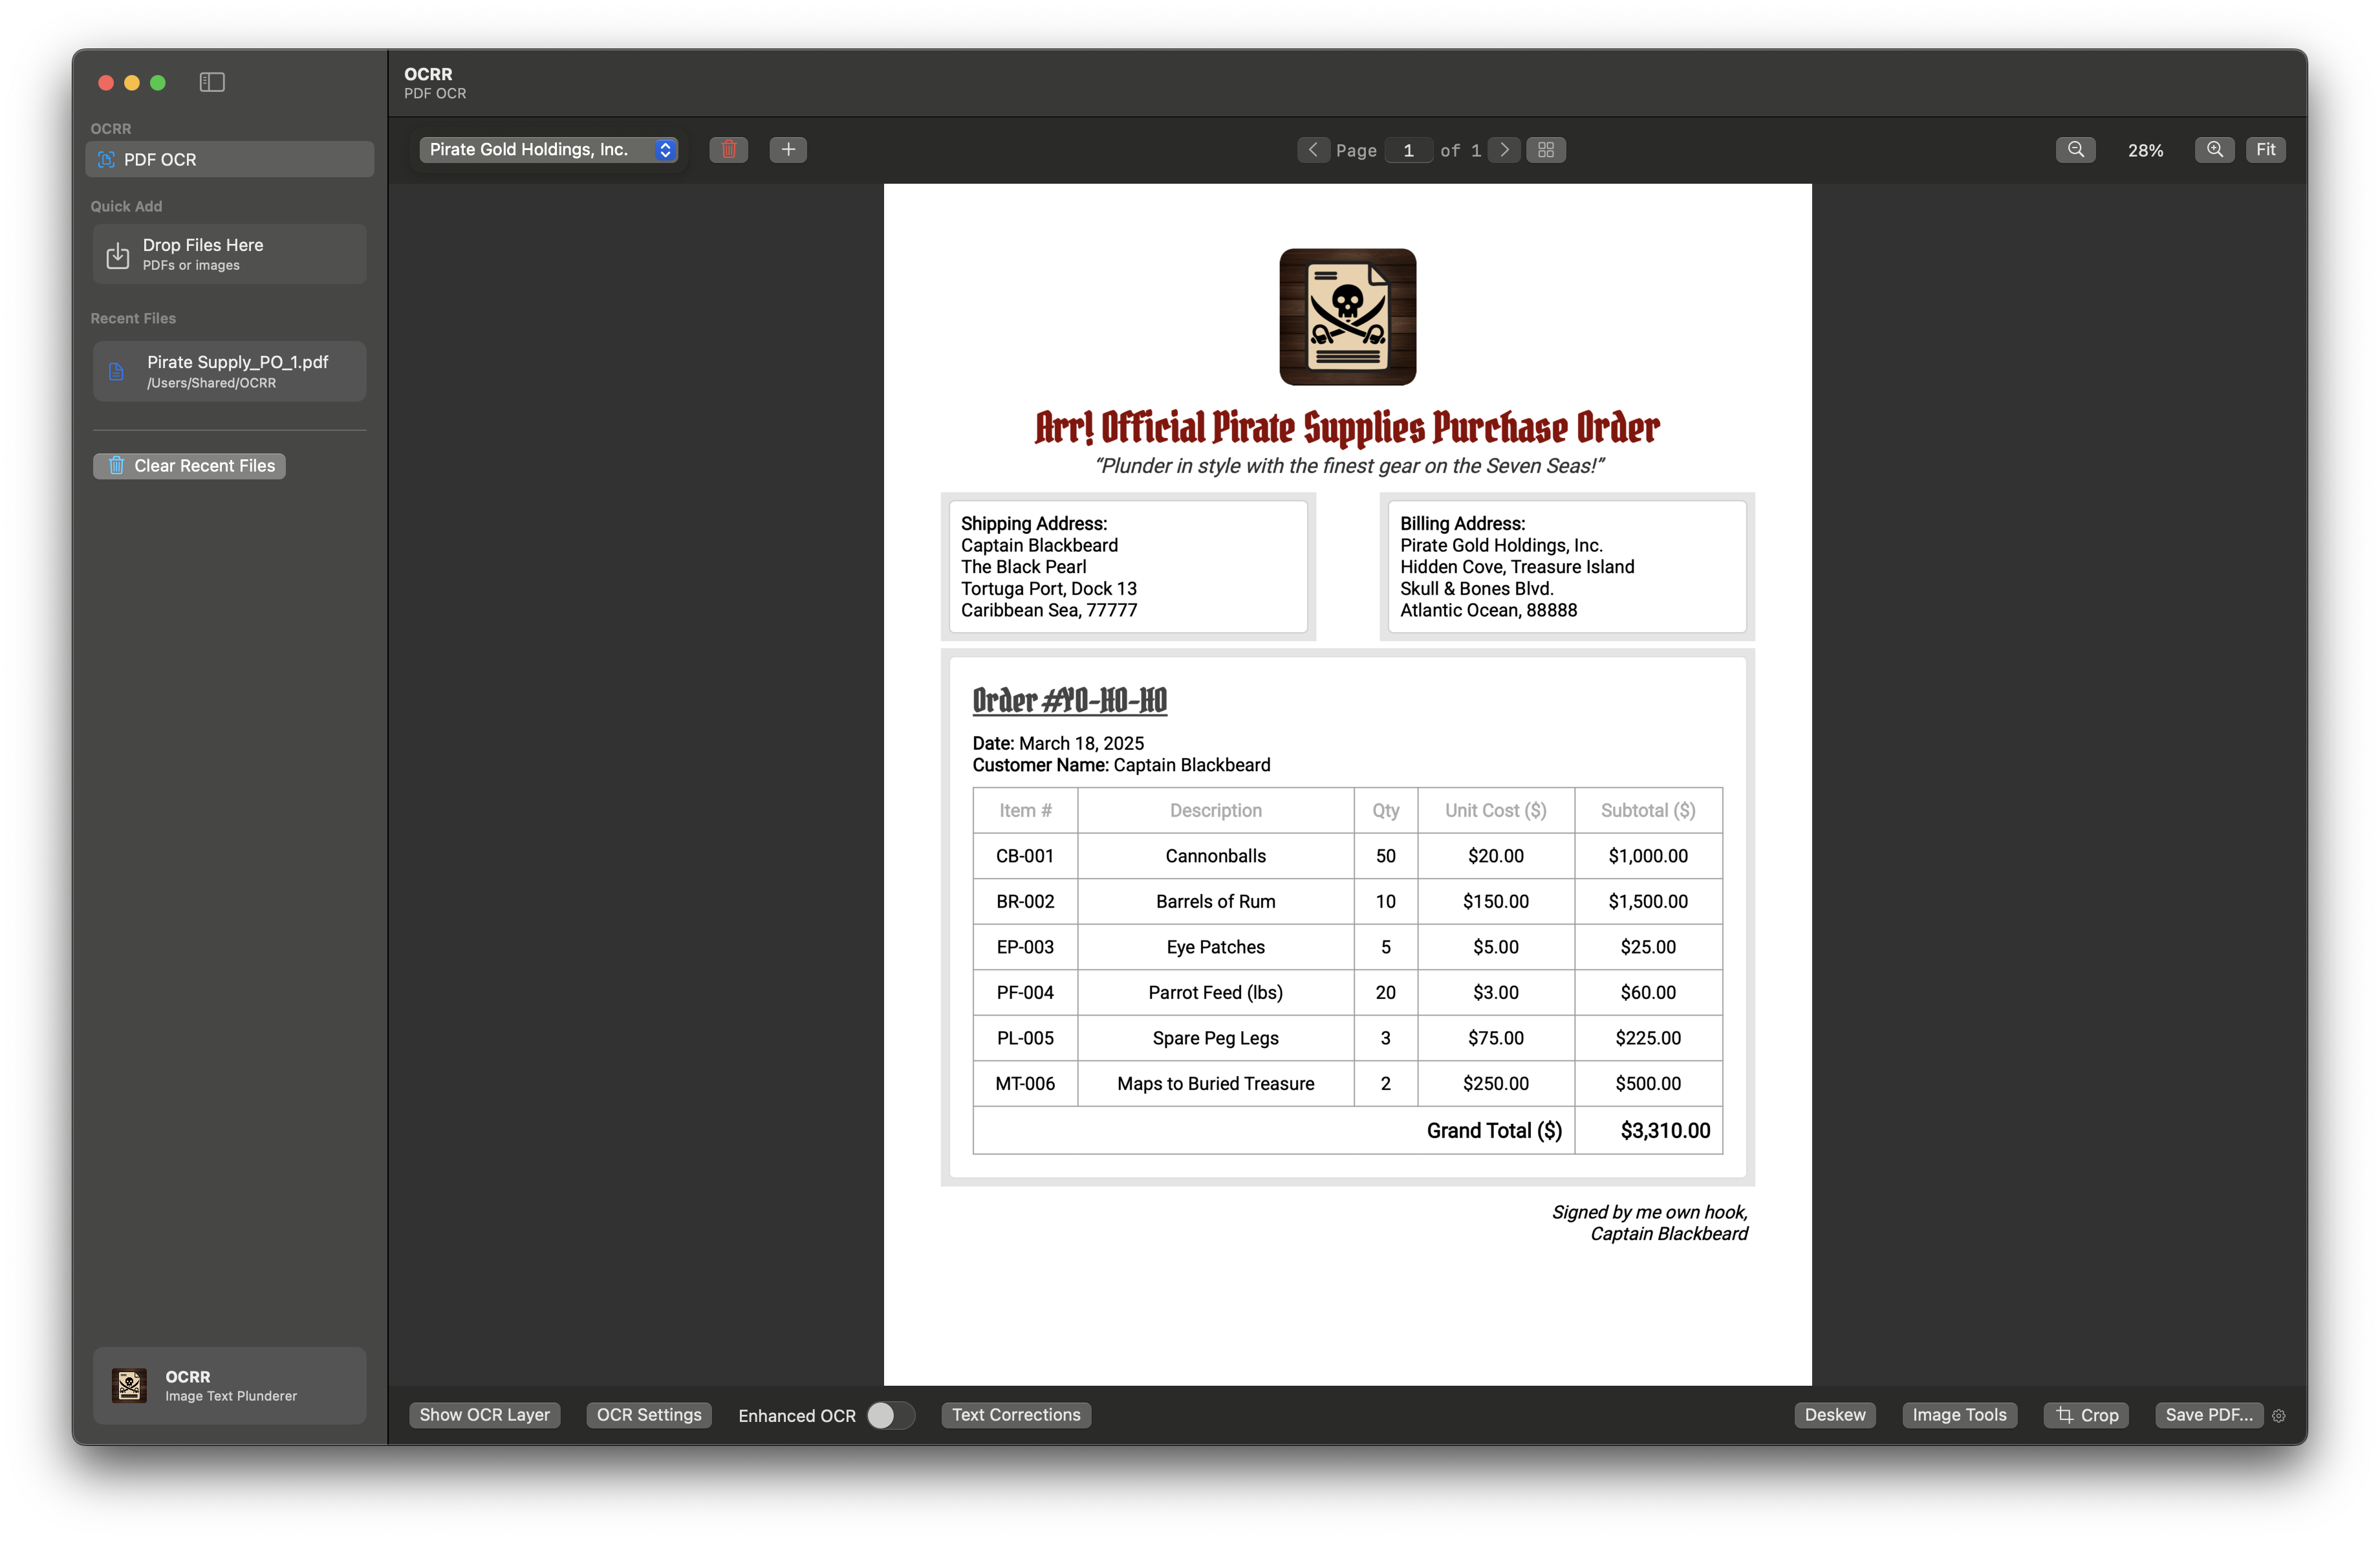
Main application window showing the sidebar, OCR pane, and controls
- Sidebar: Navigate between different tools and recently processed files
- Main content area: View and interact with your documents
- Top controls: Page navigation, domain selection, and zoom controls
- Bottom controls: OCR options, overlay settings, and file operations
Tip: You can drag and drop files directly onto the main application window or "Quick Add" sidebar section.
Trial Banner
During your trial period, you'll see a trial banner at the top of the application window. This shows the number of days remaining in your trial. Remember that when your trial expires, your payment method will be automatically charged for the annual subscription unless you cancel before the trial ends.
Keyboard Shortcuts
| Shortcut | Action |
|---|---|
| ⌘O | Open a file |
| ⌘+ or ⌘= | Zoom in |
| ⌘- | Zoom out |
| ⌘0 | Reset zoom (fit to window) |
| ⌘← | Previous page |
| ⌘→ | Next page |
First Steps
When you first launch OCRR, you'll see the main window with a clean, modern interface. Here's what you can do:
- Open an Image: Click the "Open" button or use the File > Open menu to select an image file
- Scan from Camera: Use the "Scan" button to capture an image from your camera
- Process the Image: Once an image is loaded, click "Process" to perform OCR
- Edit Results: After processing, you can edit the extracted text in the editor
- Export: Save your results in various formats (text, PDF, etc.)
Basic Workflow
- Load an image
- Adjust OCR settings if needed
- Process the image
- Edit the extracted text
- Export the results
Next Steps
- Learn about OCR Basics for more detailed information
- Check out Batch Processing for handling multiple files
- Explore Word Lists to improve accuracy
- See Export Formats for saving your work
Navigation
- Previous: Help Home
- Next: OCR Basics