Image Corrections
The Image Corrections feature in OCRR lets you create a template from a well-aligned document and use it to automatically correct new scans from the same domain. This is especially helpful for fixing skew, orientation, or perspective issues in photos or scans taken at odd angles.
 Setting a template image and drawing areas of interest
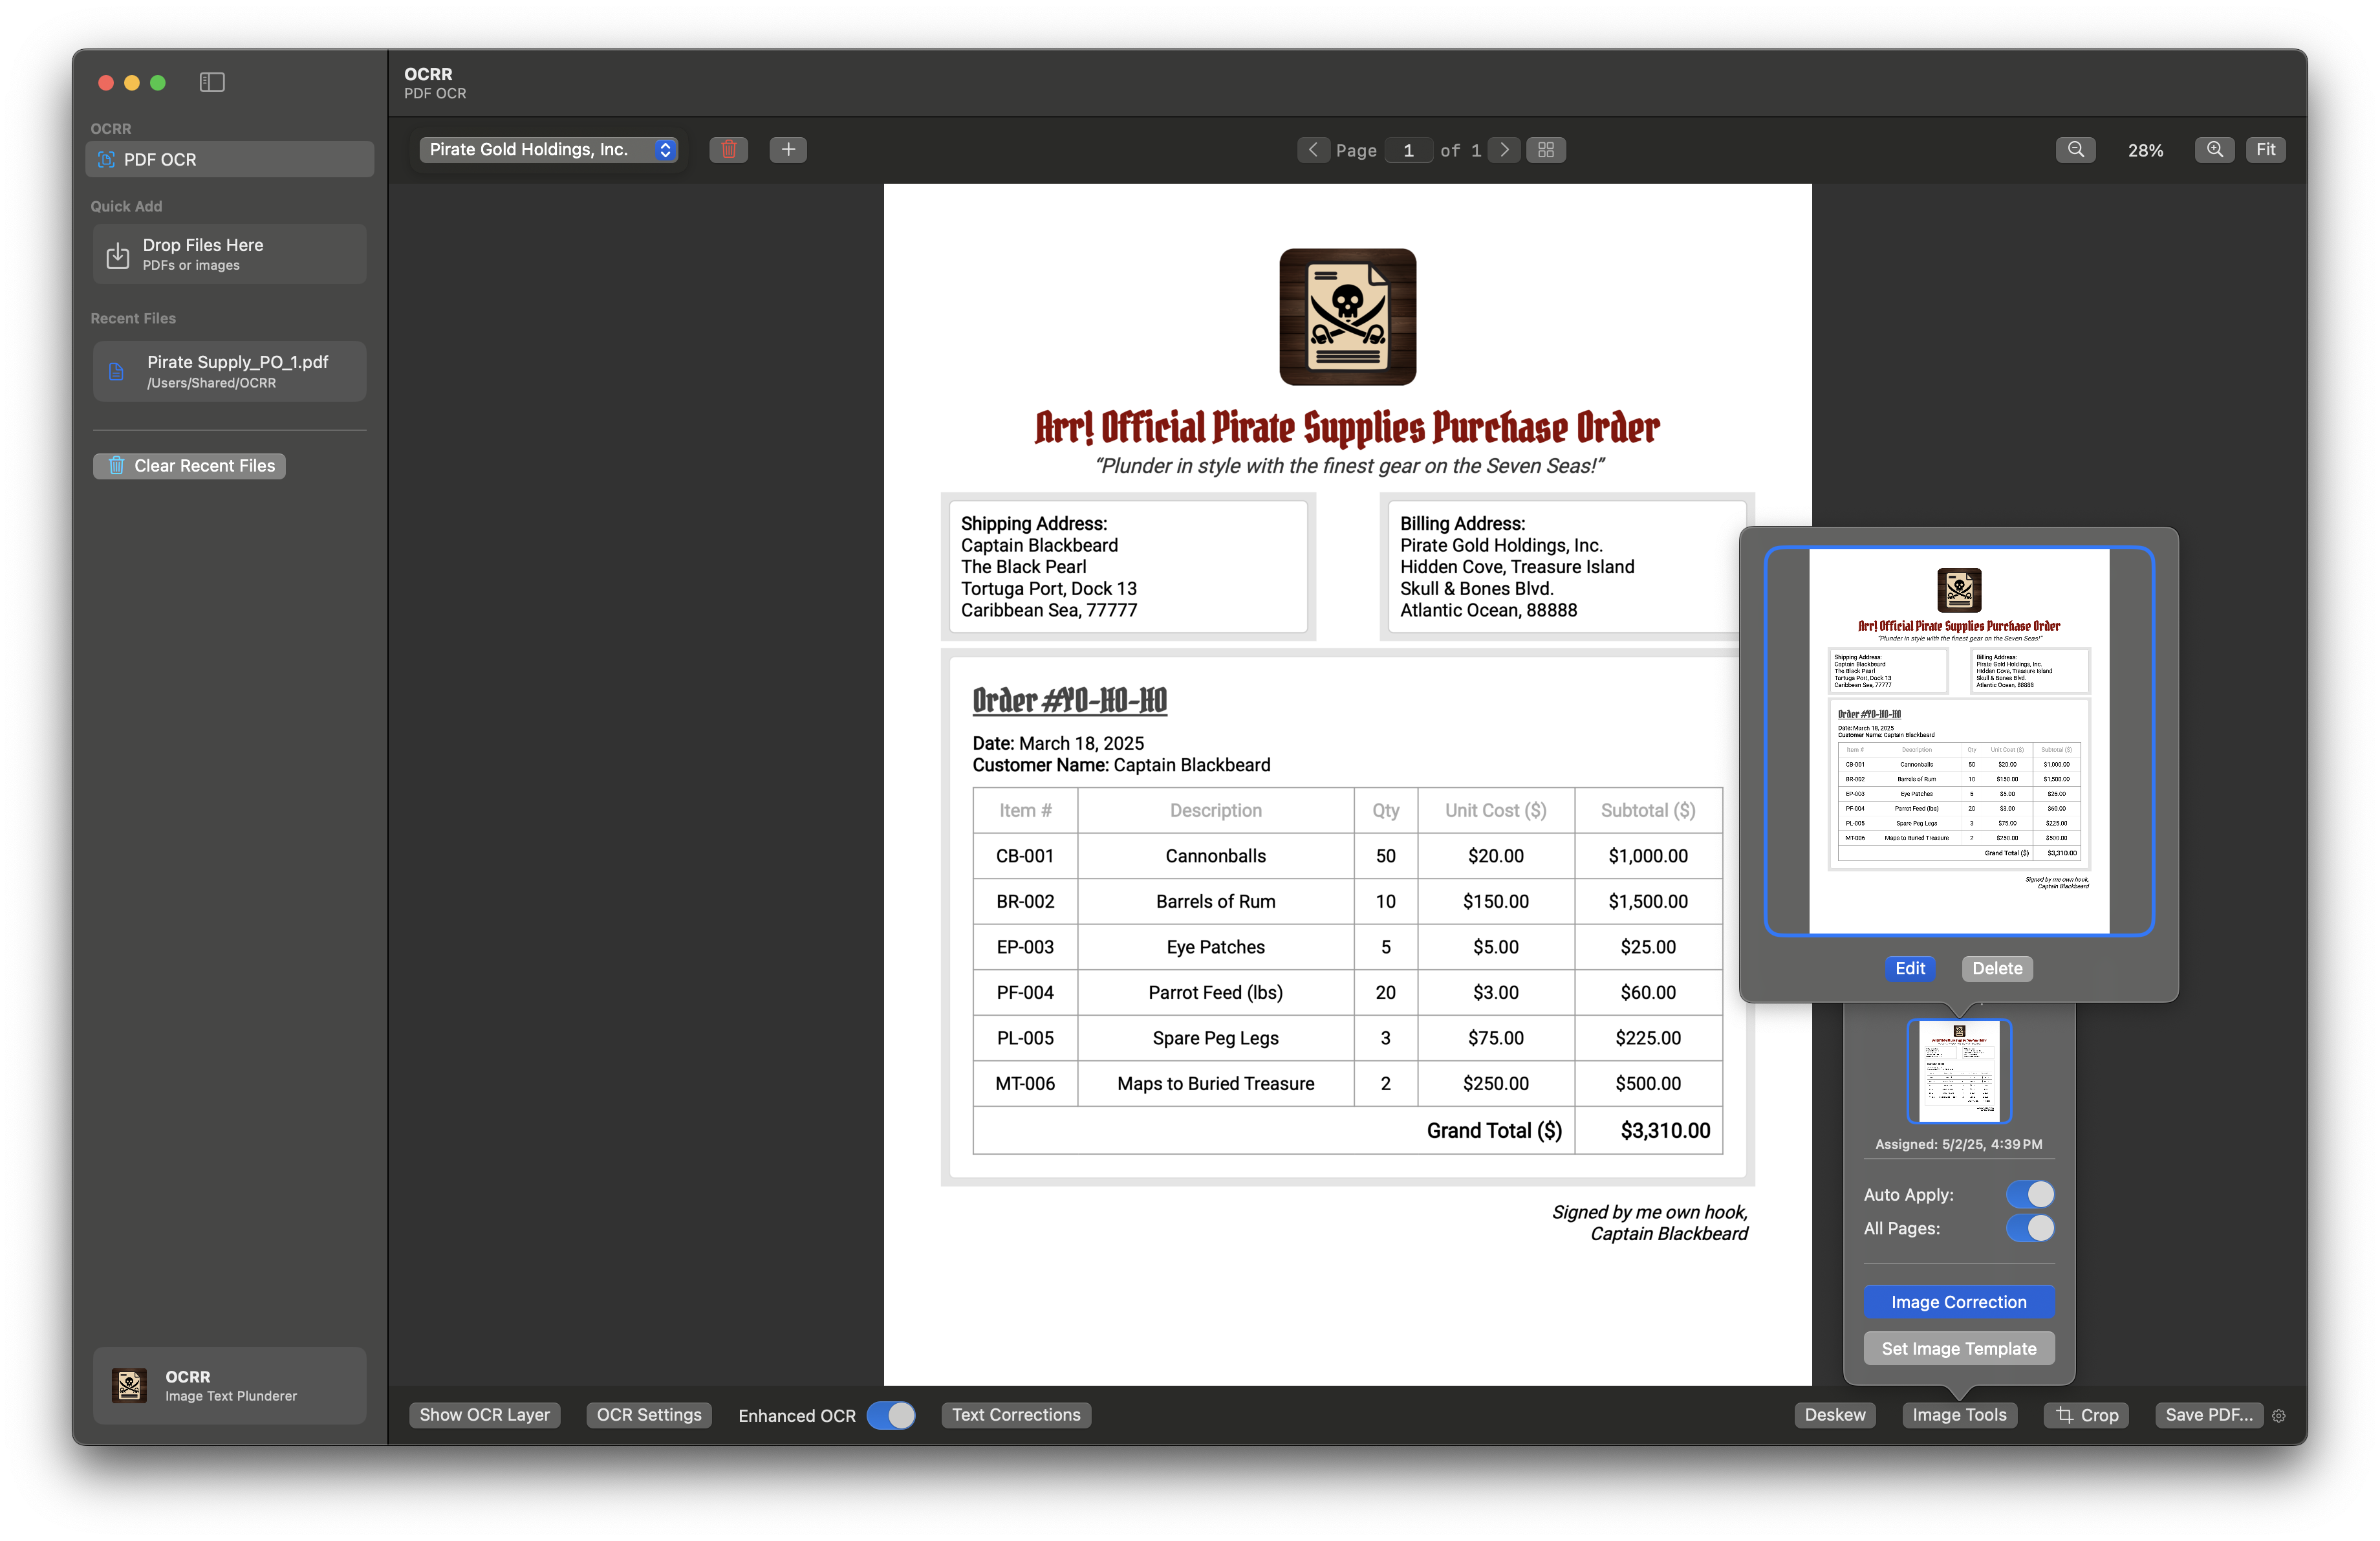
How to Set Up a Template
- Open a clean, well-aligned document in OCRR that represents the typical layout for your domain.
- Click the Image Tools button and select Set Image Template.
- Draw rectangles over the key areas of interest on the template image and click Done. Tip: The more features you draw, the better the correction will be.
- Save the template. It will be associated with the current domain for future use.
Note: Choose features that are consistent across all images from the same domain, such as logos, headers, tables, or form fields.
 Drawing boxes over areas of interest on the template image
Applying Image Correction
- Open a new document from the same domain. The template will be available automatically after choosing the domain from the dropdown.
- Click the Image Correction button in the bottom control panel under Image Tools. Tip: If automatic correction is enabled for the domain, this step will happen automatically when you show the OCR layer or save the PDF.
- OCRR will analyze the new document and align it to match the template, correcting for skew, rotation, or perspective issues based on the areas of interest you defined.
- Review the corrected image. If needed, you can re-run correction or adjust the template for better results.
Note: Image Corrections are domain-specific. Each domain can have its own template and areas of interest. For best results, use a high-quality, representative template image.
Navigation
- Previous: OCR Basics
- Next: iPhone Scanning